Working with the Scene Composer
When you capture a scene with the Scene Composer, follow this workflow:
Phase 1: Build the Object Model of the Scene
-
Capture the scene using either the mouse and cursor or the keyboard, as described in Capturing a Scene.
-
Define the Identification parameters, as described in Defining Identification Parameters.
-
Define the anchors, as described in Using Anchors.
-
Define the controls for the scene, as described in Defining the Controls for a Scene.
Phase 2: Test and Check the Scene
-
Check the scene.
-
Test the scene, as described in Testing a Scene.
Scene Composer Window
To display the Scene Composer window, click the Scene Composer tab.
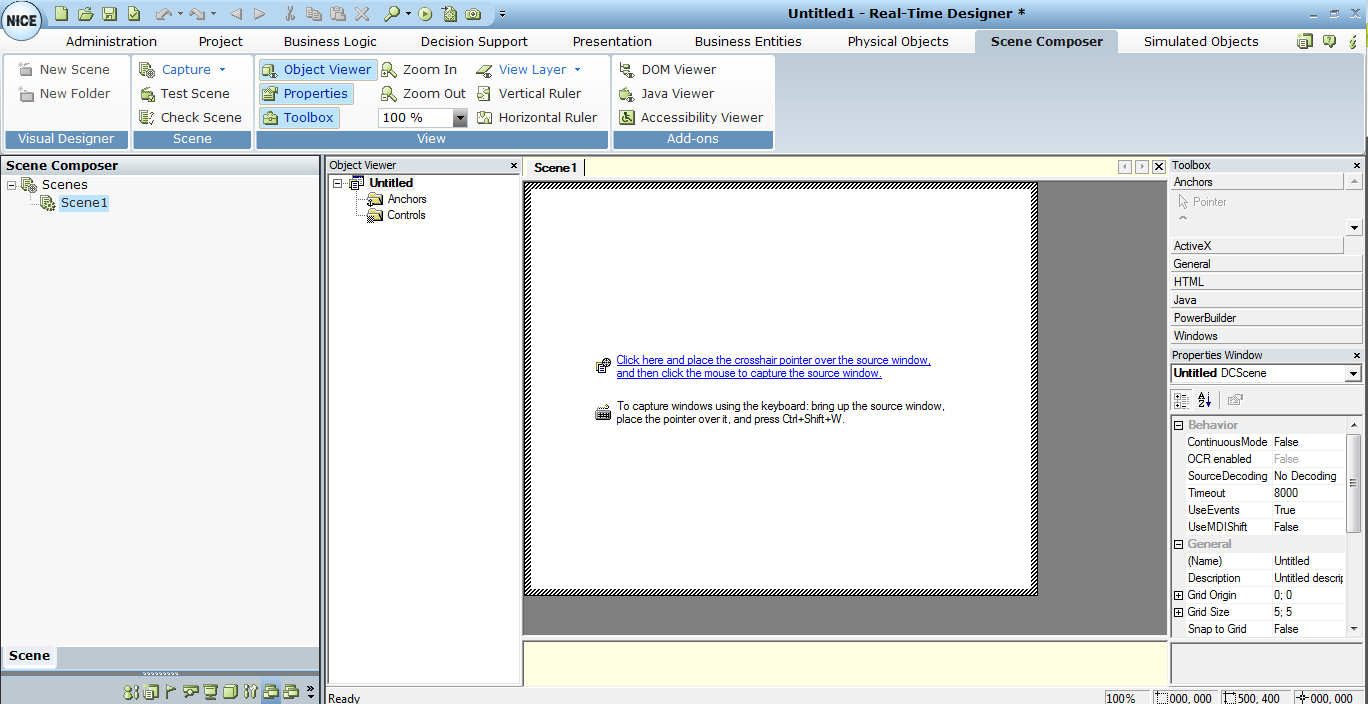
The Scene Composer window includes the following areas:
Scene Composer Ribbon
The Scene Composer ribbon includes the following options:
-
Visual Designer
-
New Scene: Creates a scene and adds it to the Scene Composer tree.
-
New Folder: Creates a folder, which can contain other scenes or folders, to organize scenes.
-
-
Scene
-
Capture: Specifies the capturing mode, which defines the view for displaying data in the main work area, as described in Capturing a Scene Using the Capture Menu.
-
Test Scene: Tests if the scene can be readily located, as described in Testing a Scene.
-
Check Scene: Checks whether the selected window complies with the scene’s conditions.
-
-
View
-
Object Viewer: Shows or hides the Object Viewer pane.
-
Properties: Shows or hides the Properties Window pane.
-
Toolbox: Shows or hides the Toolbox pane.
-
Zoom In/Zoom Out: Zooms in or out within the Scene work area, or you can set a magnification percentage in the field.
-
View Layer: Shows or hides selected layers in the Scene work area.
-
Vertical Ruler: Shows or hides the vertical ruler in the Scene work area.
-
Horizontal Ruler: Shows or hides the horizontal ruler in the Scene work area.
-
-
Add-ons
-
DOM Viewer: Opens the DOM Viewer window for a scene that has HTML page content.
-
Java Viewer: Displays all Java objects in the scene.
-
Accessibility Viewer: Displays all accessibility objects in the scene.
-
The cut, copy, paste, delete, undo, and redo options above the toolbar work as normal.
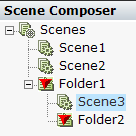
Scene Composer Pane
The Scene Composer pane shows the Scene Composer tree, which is an organized view of the folder and scenes in your project.
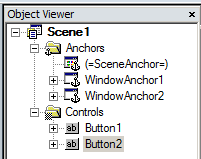
Object Viewer Pane
The Object Viewer pane shows a hierarchical view of the anchor and controls you have placed in the current scene, and their dependencies. Displays a hierarchical view of the objects you placed in the current scene (anchors and controls) and their dependencies. There are two main branches for the objects in a scene; Anchors, as described in Using Anchors, and Controls, as described in Defining the Controls for a Scene.
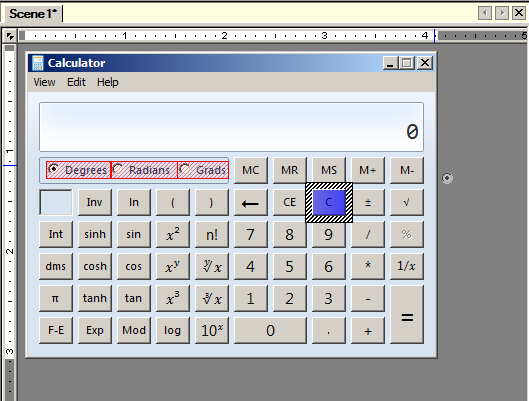
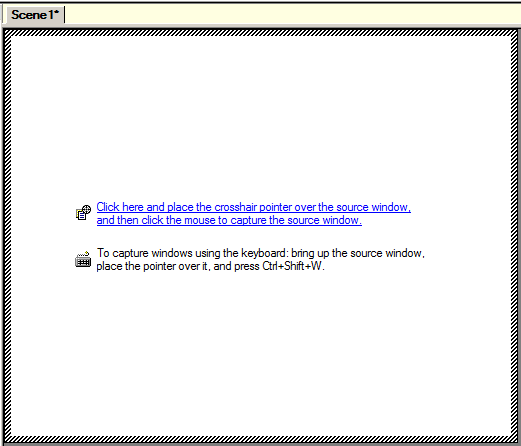
Scene Work Area
The Scene work area is the main work area.
Each Real-Time Designer project includes a default scene, showing links for the two methods available for capturing a scene, as described in Capturing a Scene.
In a set of referenced projects, ensure that this default scene appears in the main project, or the full solution will not run.
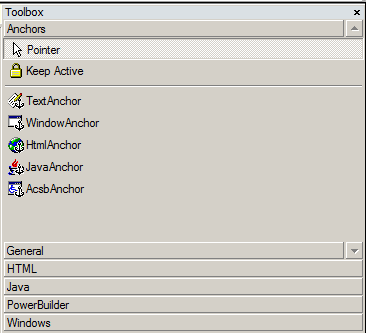
Toolbox Pane
The Toolbox pane provides a set of tools that define the target application objects with which you want to interact.
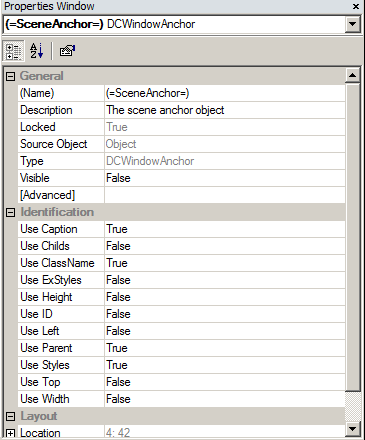
Properties Window Pane
The Properties Window pane lists design-time properties and their current settings for the selected project, scene, or scene object.